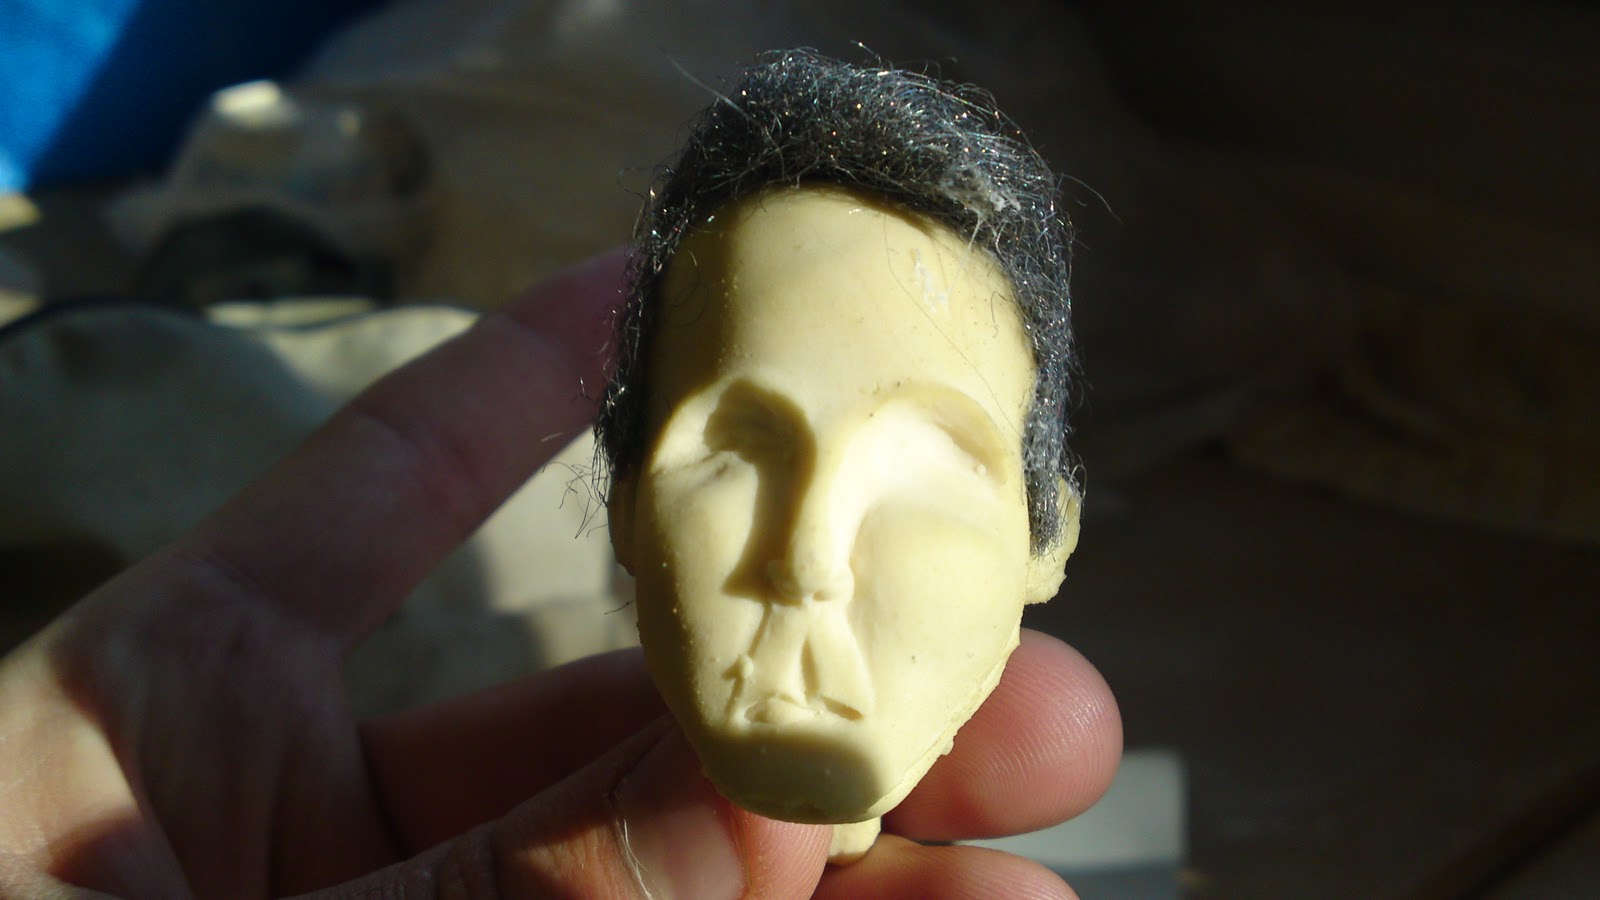
This morning was one of those mornings when you wake up in tension, expecting some kind of news, maybe good ones, maybe just the opposite. I took my bike and sprinted to uni to empty the kiln. I couldn't of dreamed better, the latex was perfectly cooked, and the armatures were in the right place!! (well, at least most of them).
There, you can see a bit of wire sticking out of his upper lip. But, the lower lip is perfect, it gives me all the rage of expressions I need. And the eyebrows work very smoothly. I am very happy with the internal armature, as I have being playing around with it to push the expressions, and it's responded great. Also, the clamps I used to push the two parts of the mould together worked better than I would ever expected.
The hands I was so happy about yesterday, turned out to be undercured, and lost all their detail as I was trimming the latex surplus.But I can still use them for long shots, not close ups.
In the big body mould, I decided to stick two balls in the eyes, so the cast would come up whit two holes where I could stick the eyes, and it has turned out very well. I might adopt this method for the head mould:
After testing the range of expressions I could get in both heads, I decided I wanted to make some more moulds for the hands for three reasons: I don't really like the hands now, I want to be able to make six or eight hands at a time, not only two. And I always end up with some leftovers from the latex run, and it is good to have spare moulds to fill so you don't waste such expensive material. So here is how the new hands are coming together:
They need more detailing tomorrow, and a little baby oild to smooth the surface, but I think the nails will give them a good realistic look..
Tomorrow mould and armature making!!
Yes, just as it happened last time I cooked latex, in the same kiln as last time, it wasn't fully cured by 5:00pm. Only the hands, being a very small mould had cooked properly:
They came a bit dirty, because the brush I used to apply the mould release was not as clean as I thought. But I have a good feeling with this armatures, they look much tougher than previous ones.
Following the same instructions as first and second run:
1. Increase from speed 1 to 12 during 30 sec.
2. Maintain speed 12 for 5 min
3. Reduce to speed 4 gradualy
4. Maintain speed 4 for 3 min
5. Add Gelling agent at speed 4 for 30 sec
6. Backbowl for 30 sec
7. Ultrarefine speed 1 for 2 min
Here is a little edited video of the main stages of the process. It's a bit too long and boring, but the music is nice! (sorry for the quality, and specially the format):
There was a difference today, I used clamps to put preassure in both parts of the moulds, the result is a much tighter link in the foam cast, I'll never do it it without them again.The head mould and the big body mould were left inside the kiln to rest the night with the kiln's residual temperature. I hope I don't have the same problems as last time when I left it overnight. This time I rubbed quite a lot of vaseline int the moulds to make sure they didn't stack together. Nevertheless I opened the head mould and it was almost cured, it looked pretty good (I am feeling too lucky...) I left it opened in the kiln.
After a very long day in the uni, I went to some friend's exhibition, Aaron Golding and Alberto Deleze, glass artist and ceramicist:
Alberto was aiming for more than a hundred fishes, but I still think this few are very impressive.
I love the colors in Aaron's work, quite psychedelic!. And this is all for today, looking forward to see if the head armature finally works tomorrow.
Today has being one of those long, long days, with a lot of things done.....so prepare for a long and boring post!
Before getting the puppet to stage, I had to cut the edges. I don't have the necessary elements to make the Pro-Paste, so the middle line across the puppet is quite visible.
After getting the puppet clean and isolated, I had to dress him up. I had plan to cut the hands off, as the are replaceable, but I found it also made the job of dressing the puppet much, much easier.
After suiting him up, it was time for his hair style. I divided the hair in three parts, making one of them animatable. :
After the hair was ready, the was nothing left to do before shooting. Here are some Studio Pics:
Yes, he hates me. But I think he looks fairly good. I have to work on the hands A LOT, because I snapped 6 of them today. But the body armature responded great!. I placed the puppet in all the possible posses I am needing in the film, and it survived them all! But I still need to work on the final head (of which a have o make about six replicas ) and make as many hands as I can.
Tomorrow I am going to Madrid, so for the next week, I'll be working in Orli Ivanov's porcelaine sculpture animation, and the animatic of my film. I didn't have time to shoot the face closeups of the character...so I'll also be doing that. I hope to be able to upload the animatic soon!!
So just a few hours from now, I'll be Home!!!! Speak to you from there!
I finally have a foam latex puppet ready to go on set (I haven't painted it yet), with internal armature, tie downs and replaceable hands!! And it feels really good! The extra pair of hands look resistant and have casted really well.
The Bad :
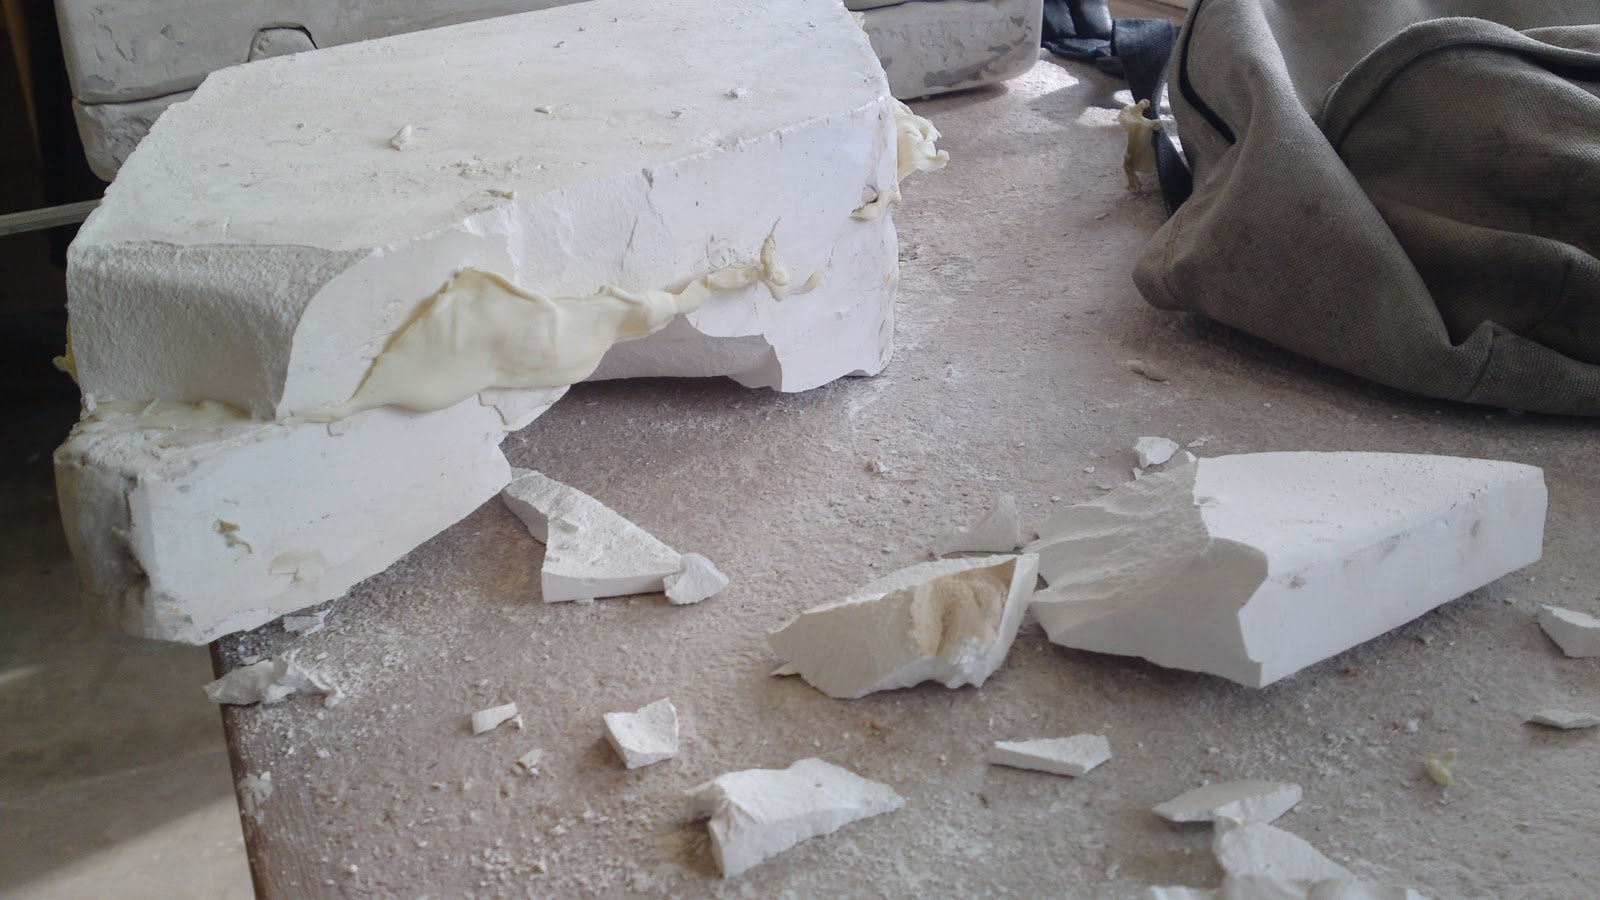
The foam latex could have cured better, there are some rough surfaces in the shoes and neck of the puppet, one of my moulds had to be destroyed in order to rescue the puppet inside, and the main mould suffered serious injuries...This will teach me not to forget rubbing vaseline on the mould ever again.
The Ugly:
My new head mould, made of a harder plaster, looks just fine, but the head that has came out of it is one of the ugliest I've ever seen... The foam latex was not cured, and was stack to the walls of the mould. There can only be one reason as to why this one hasn't worked. It was the only mould that hadn't been "prekilned" to take all the water molecules out. That water has reacted with the foam latex and has done a hell of a job with it! (Another head armature to the bin)
But just as The Good, the Bad and the Ugly was a great film, so has being my day. I am getting closer and closer to a fine, resistant, light puppet. I'll be cutting off Mr. Marshal's edges, hair dressing him and dressing him up for the occasion. Tomorrow is his first day at the studio, lets see if he can put an animatic together without snapping the armature!
Wish me luck!!
Today, I am not a happy man..... After spending all week making a new mould, making head and hand armatures and getting it all ready for the foam latex run, bad luck has come to me in the most important of all process.
After repeating the exact instructions as last week for the mixing of the latex, setting the kiln at the same temperature and cooking it for half an hour longer(as the moulds were thicker), the foam latex has turned out to be undercooked...
The only reason I can think of, is that the kiln was under-fireing today, or over-fireing last week. Either way, it was already 16 :45 and with the studio closing at five, there was not much I could no. I've decided to cook the latex for another hour and a half at a slightly higher temperature, but I wont know the result until Monday.
What this means is, as I've being thinking about ever since I came out of the studio, that I will probably have a lot of difficulty in opening the mould on Monday. Specially when I just remembered a few hours ago, that I didn't rub the mould with vasseline...... The worst that can happen then, is that I have to start ALL the process again...and the best is that the puppets are fully cooked, and the moulds are as good as new. Between those two possibilities, there are a huge range of things that can go wrong, so I am very pessimistic towards Monday's encounter with the kiln.
The suspense continues once again....
Ohh! I just wanted to show a little piece of ...whatever this is I made with the remains of the latex during the everlasting two and a half hours of the foam cooking :
Without a doubt, the most tricky, precise and difficult I have come across in this project, but today, I think I finally made a decent one. (After 5 attempts it was about time) . I must say it took me all day, with a little frustrational break, so I hope it works when the moment comes on Friday. Here are the pieces I had to fit very precisely into the 3 cm head.
And here is the ugly result ...finished but not dried, so I'll cut off all the remaining wire tomorrow:
Before deciding what wire to use and where to put it, I made some test with the first foam latex head that had the armature in the slightly wrong place:
I found a couple of things, first of all, the cheek bones don't really give any extra expression to the character, so there is no need to waste space with them. The upper lip is to thin to place wire in it, so I fixed that in yesterday's mould. Also, I have an upper and lower lip, but if I want him to smile, there is nowhere to pull from, so I've put to wires in the sides of the mouth for this purpose. The eyebrows worked pretty well, but I am making a slight adjustment: in stead of one wire for both eyebrows, I've given each eyebrow it's independent wire.
I want a completely functional puppet this Friday, so I need to have everything ready by tomorrow night. Until then !!
Last night was baking night at my house, we've done a cake sale today at the university to raise founds for my house mate's final year graduation film : Dear Ana.. A film raising anorexia awareness.
The cake sale has gone quite well!!
After the salesman experience, I went on to do some tests on a "test head" I had the luck to make on Friday. You have seen this head in the post about my first moulds.
First thing I did was to cut the "surplus" of latex with some small scissors, I wasn't too concerned about this process , I'll leave that for further tests :
Once I had all the puppet cleaned around the edges, I could start experimenting with the hair.....another lucky strike: a couple of weeks ago, my friend Jitka showed me some brilliant sculptures she had done, to which she had attached some wire wool to. I thought it could be a great material for the hair!! It is thinner than hair, so the scale matches the scale of the puppet. As it is wire, it can be animated, and it's very flexible and easy to glue with a bit of liquid latex:
To add some more realism to the puppet, I thought the eyebrows should also simulate real hair, so I cut some of my own hair, and I started punching it into the puppet's face, and it worked!! But it is such hard work, and so slow and tiny...I am a patient man, but that was simply too much, with all my respects to Suzanne Moulton ......
So after learning how this could take me weeks for all the 6 or 7 heads I want to use, I decided to give it a try with the wire wool for the eyebrows, this is the result:
I am very pleased with this quick experiment, I am a bit concerned about the hair shining too much with the lights on the set, so I'll probably apply some paint with an airbrush.
Tomorrow I'll be making the new mould for the head, so I can show you the process.
Enjoy
I am sorry I didn't post this yesterday as I promised. I bet you were all tied down to your computers waiting desperately for me to write this...but it turned out that I did have a little bit of money, and so I went to grab some drinks, and you know what happens......you start with one and you stop when you've lost count! Or should I say you stop because at midnight you are not allowed to enter a Pub in Farnham on a Saturday night because it's closing! (How sad can you get)
Anyway, to the point:
2 hours after getting the moulds into the kiln I was no longer a human being, but rather a jumble of flesh and bones only held together by the electrostatic friction created by my shivering pulse....The moment of truth had arrived: All that time expend in modeling, moulding, making armatures...was now challenged, was it worth it?
Of course it was!!!! What an amazing feeling to see all this work coming together!! The foam latex was an absolute success!! The texture and softness of the material is just what I was looking for!!!
But not everything went as well as the foam latex.....remember that head armature?? The one I had to do four times? Well, somehow I didn't place it right, and it is absolutely of no use for the puppet. I have to find a way of placing it really precisely . The hands came out perfect, apart from the fact one of them broke the aluminium wire as I was pulling it out of its mould.The other thing that went wrong were the moulds, the temperature shock made them crack as soon as I took them out of the kiln. Only the hands mould survived the experience. But know I've learned my lesson. First , don't use keramicast plaster for your moulds, and Second, be sure that you have two strategic points were you can fix the armature once the mould is filled with foam latex, otherwise your skeleton can end up floating anywhere around the mould.
So, overall, I think it has being a very successful week, I couldn't dream of achieving the perfect foam latex in the first try, and it has happened. And , to be honest, I am glad the head mould broke. It gives me a chance to make a better one, focusing in the fact that placing correctly the head armature is the most challenging thing I've came across with so far. Also this will keep me quite busy until next foam latex run, on Thursday.
This morning I woke up at about 9a.m, with a knot in my stomach. Foam Latex day had arrived. The first thing I did was to go and check the fourth head armature I made last night.....as you can imagine, failure: the lower lip fell off as soon as I tried to move it around a bit. But it wasn't the end of the world...eyebrows, eyes, teeth, cheeks and chin, all seemed to be in place (I would realize later that they were not)
Anyway, upon my arriving to uni, I started setting all the armatures for their correspondent moulds. Glueing the nuts to the puppet's feet, and attaching the last copper tubes for the replacement hands and heads.
So, once I had applied the foam releasing agent (in perhaps an exaggerated way, I'll lower the dose next time) and brushed away all the powder remaining in the moulds, I was ready to start measuring grams , with a very funny looking gas mask, some protection goggles and latex gloves that were not made out of latex....(Health and Safety never has enough..)
Now , I am really sorry, but this next few lines will only be interesting for those of you who are animators (maybe just as the rest of the blog......?)
1. Increase from speed 1 to 12 during 30 sec.
2. Maintain speed 12 for 5 min
3. Reduce to speed 4 gradualy
4. Maintain speed 4 for 3 min
5. Add Gelling agent at speed 4 for 30 sec
6. Backbowl for 30 sec
7. Ultrarefine speed 1 for 2 min
NOTES:
I couldn't do the Backbowling (consequences of buying the cheapest stand mixer...)
I thought it was a bit slow to gel, as at the time of pouring the latex to the moulds, it was still to fluid.
Maybe there was not enough mix to begin with, the 195 initial grams barely made it up to the mixer's blades.
For next time, maybe increase the time in one minute for speed number 4, and make twice as much foam.
Once the foam was in the moulds, I let it gell for about 20 min, I then put them in the kiln at 85*C for two hours (I could say they have been the two longest hours of my live...) . I had to find something to do during those two hours!! So I did, I approached a computer nearby, and started editing yesterday's animation of Orli's sculpture. So here is a quick look at the footage:
This is now becoming a really long post, and I still haven't shown you what happens when I open the kiln after those two hours, but as you know, I like to keep the tension of the audience. So tomorrow, as I have no money, instead of going out to grab a drink, I'll be blogging, uploading some more pictures, eating garlic pasta and watching some movie on BBC2 (did I just sound excited??)